
“Why can’t I find this in stores?” I overheard my friend exclaim while savoring a slice of homemade bread slathered with a vibrant, green spread. I couldn’t help but smile, knowing the secret: Grandma Mildred’s Easy Kiwi Jelly. This delightful fruit preserve captures the essence of fresh, ripe kiwis paired with a hint of lime and tropical crushed pineapple. Whipping it up is a breeze—just a quick blast in the microwave—and before you know it, you’ll have a homemade treat that dazzles the breakfast table. The beauty of this jelly is not just in its refreshing flavor; it’s also a thoughtful gift for loved ones or a fun adventure for your weekend cooking. Ready to experience the zing and sweetness of homemade kiwi jelly? Let’s dive in!

Why Is Kiwi Jelly So Amazing?
Refreshing, Bright Flavor: This jelly combines the sweetness of fresh kiwis with the zesty kick of lime, creating a uniquely delightful spread that will awaken your taste buds.
Quick and Easy: Made in just minutes using a microwave, it’s a hassle-free way to enjoy homemade preserves.
Versatile Pairing: Perfect on toast, pancakes, or even as a filling for pastries, this jelly elevates any breakfast spread.
Thoughtful Gift Idea: Packaged in pretty jars, it makes a lovely homemade gift that friends and family will cherish! Don’t forget to check out our other recipes for creative flavor variations and tips on making wonderful preserves.
Kiwi Jelly Ingredients
For the Jelly
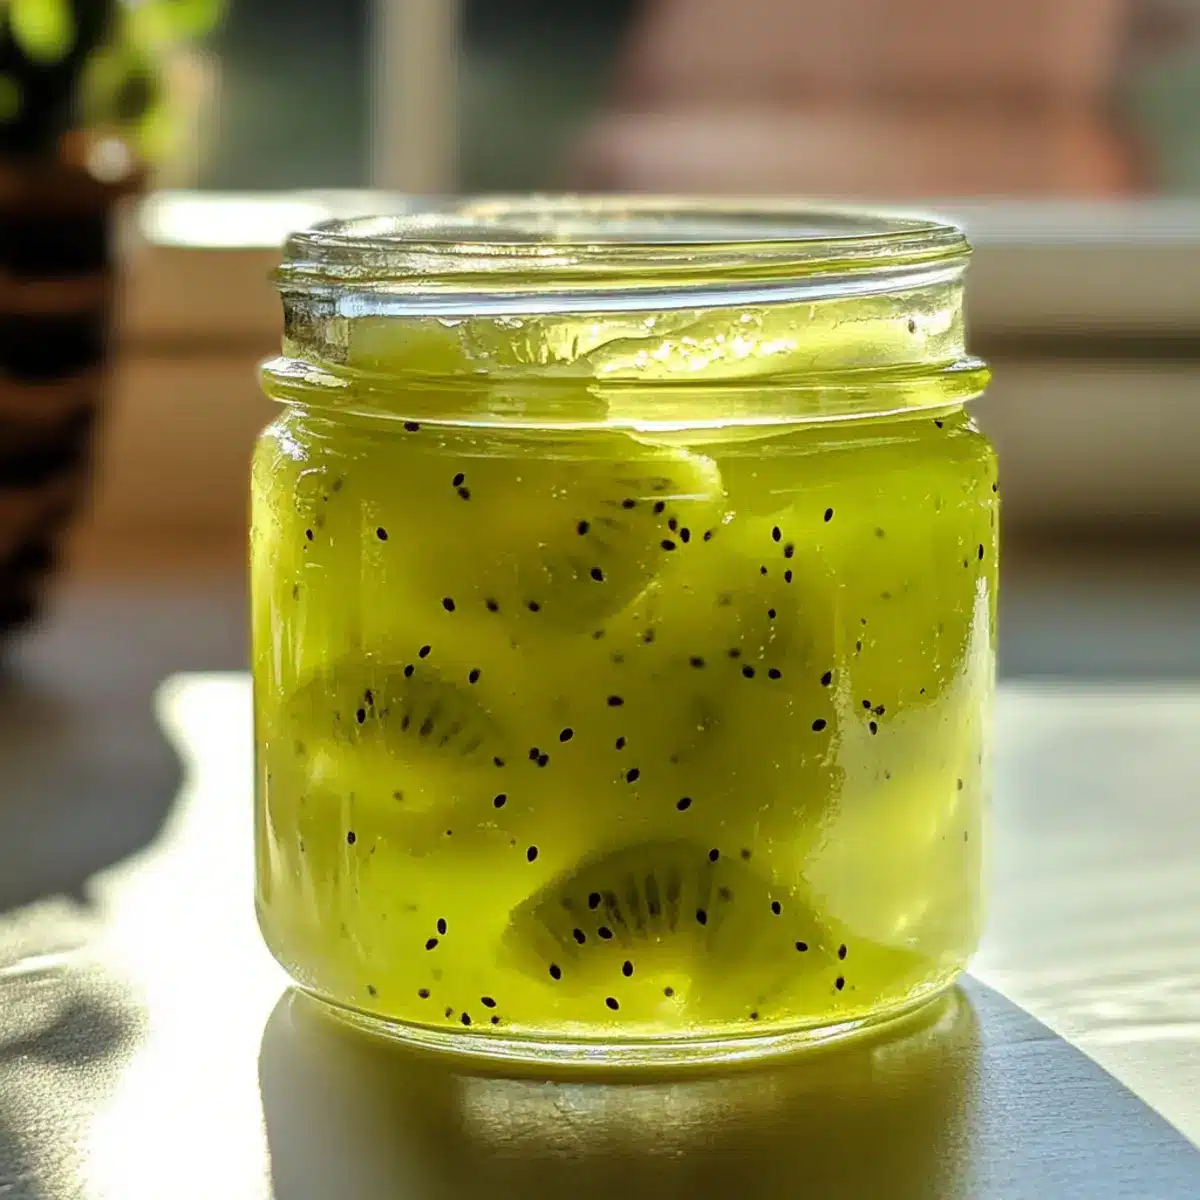
• Kiwifruit – Use fresh, ripe kiwis for the best taste and flavor profile in your kiwi jelly.
• Lime Juice – Fresh lime juice enhances the tartness and balances the sweetness of your jelly.
• Crushed Pineapple (undrained, 8 oz.) – Adds delightful tropical sweetness; substitute with other canned fruits if desired.
• Liquid Pectin (3 oz.) – Essential for proper setting; avoid substituting with other pectin types without recipe adjustments.
• Green Food Coloring (3 drops) – Optional, this adds aesthetic appeal by enhancing the jelly’s vibrant green hue.
Note: Enjoy the simple pleasure of making homemade kiwi jelly with these fresh ingredients!
Step‑by‑Step Instructions for https://i0.wp.com/huckleberrylife.com/wp-content/uploads/2020/09/kiwi-jelly-fb.jpg?resize=1024%2C538&ssl=1
Step 1: Prepare the Kiwifruit
Start by thinly slicing and chopping your fresh, ripe kiwifruit to release its vibrant juices. Aim for small, bite-sized pieces to ensure they incorporate well into the jelly. This step not only maximizes flavor but also sets the stage for the delightful texture of Grandma Mildred’s Easy Kiwi Jelly.
Step 2: Mix Ingredients
In a large, microwave-safe bowl, combine the chopped kiwifruit with undrained crushed pineapple, fresh lime juice, and sugar. Stir the mixture thoroughly to ensure the sugar is evenly distributed, and the flavors meld beautifully. This colorful blend will serve as the heart of the jelly, bursting with sweet and tart notes.
Step 3: Microwave the Mixture
Place the bowl in the microwave and cook on high for 10-12 minutes. Be sure to stir the mixture every 2 minutes, watching for it to come to a full rolling boil. This bubbling brew is essential for the jelly’s texture, signaling that it’s reaching the perfect point for setting.
Step 4: Incorporate Pectin
Carefully remove the hot bowl from the microwave, taking care not to burn yourself. Stir in the liquid pectin and add 3 drops of green food coloring if you desire a vibrant hue. Mix well to ensure the pectin is fully incorporated, which is crucial for achieving the desired consistency in your kiwi jelly.
Step 5: Jar the Jelly
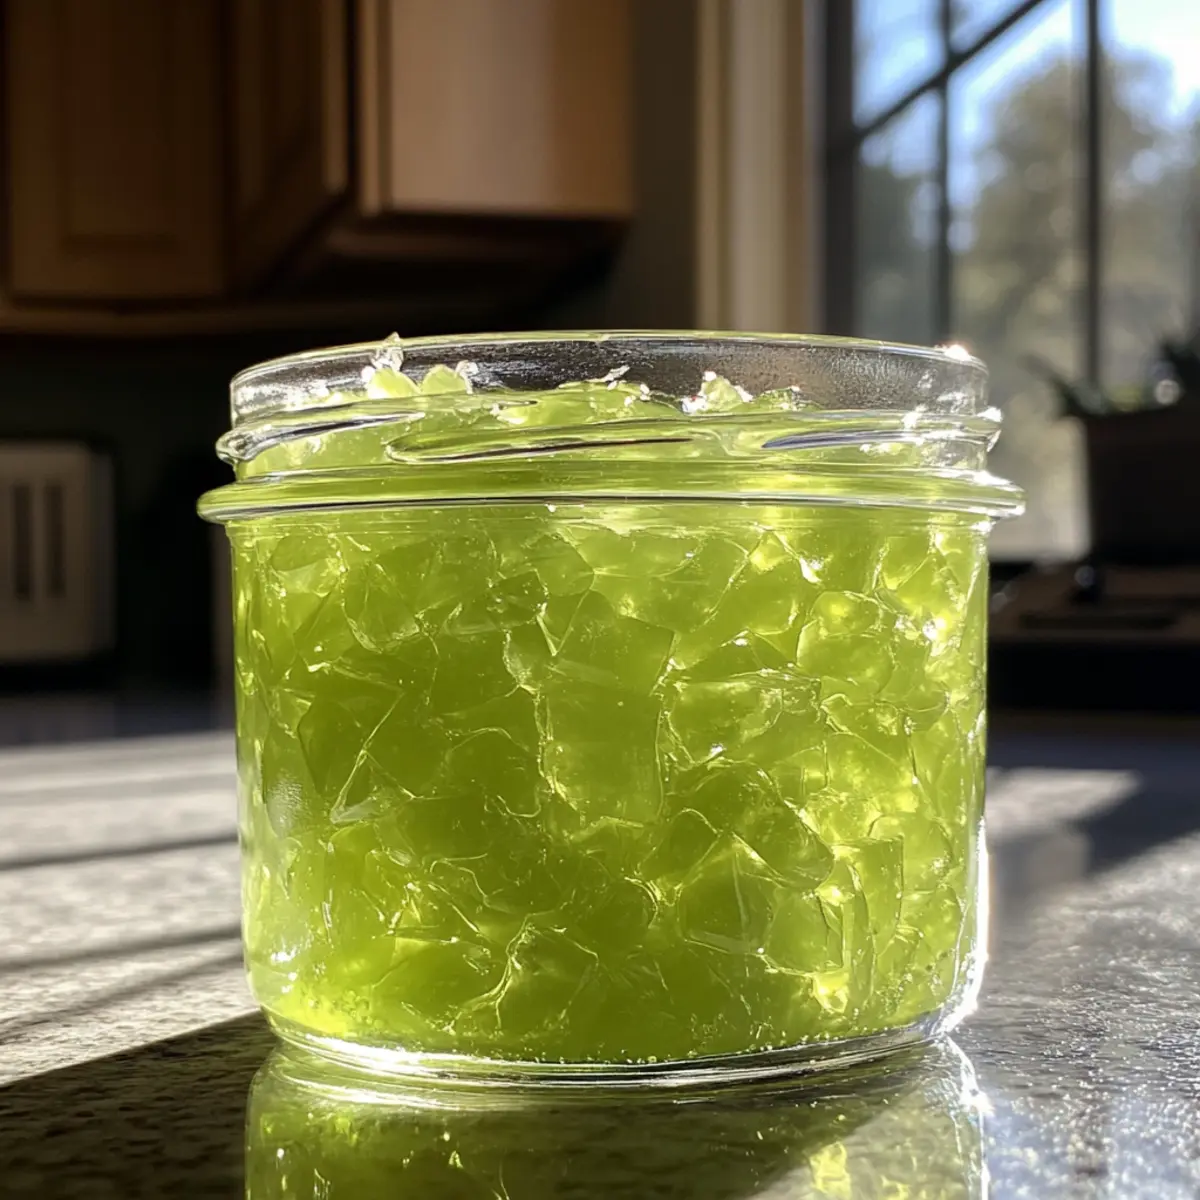
Pour the hot kiwi jelly mixture into prepared jars or freezer containers. Be cautious as the mixture will be hot. Allow the jelly to settle and fill each jar, leaving some space at the top for expansion if freezing. This step is where all your hard work pays off, as the jelly begins to take shape.
Step 6: Cool and Store
Let the jars cool at room temperature for about 1 hour. After cooling, cover the jars and let them sit overnight to set properly. Once set, place the jars in the refrigerator or freezer, where your delectable Grandma Mildred’s Easy Kiwi Jelly will be ready to enjoy for weeks to come.
Make Ahead Options
These jars of Grandma Mildred’s Easy Kiwi Jelly are perfect for busy home cooks looking to save time! You can prepare the jelly mixture up to 24 hours in advance; simply complete steps 1 through 5, then let it cool, cover, and refrigerate. By refrigerating, you allow the flavors to meld beautifully! When you’re ready to enjoy, just follow step 6 to let it set overnight before serving. If you’re feeling extra organized, this jelly can also be frozen for up to 3 months. Just remember to leave space in the jars for expansion. With these make-ahead options, you’ll have delightful, homemade kiwi jelly on hand whenever you need a burst of flavor!
How to Store and Freeze Kiwi Jelly
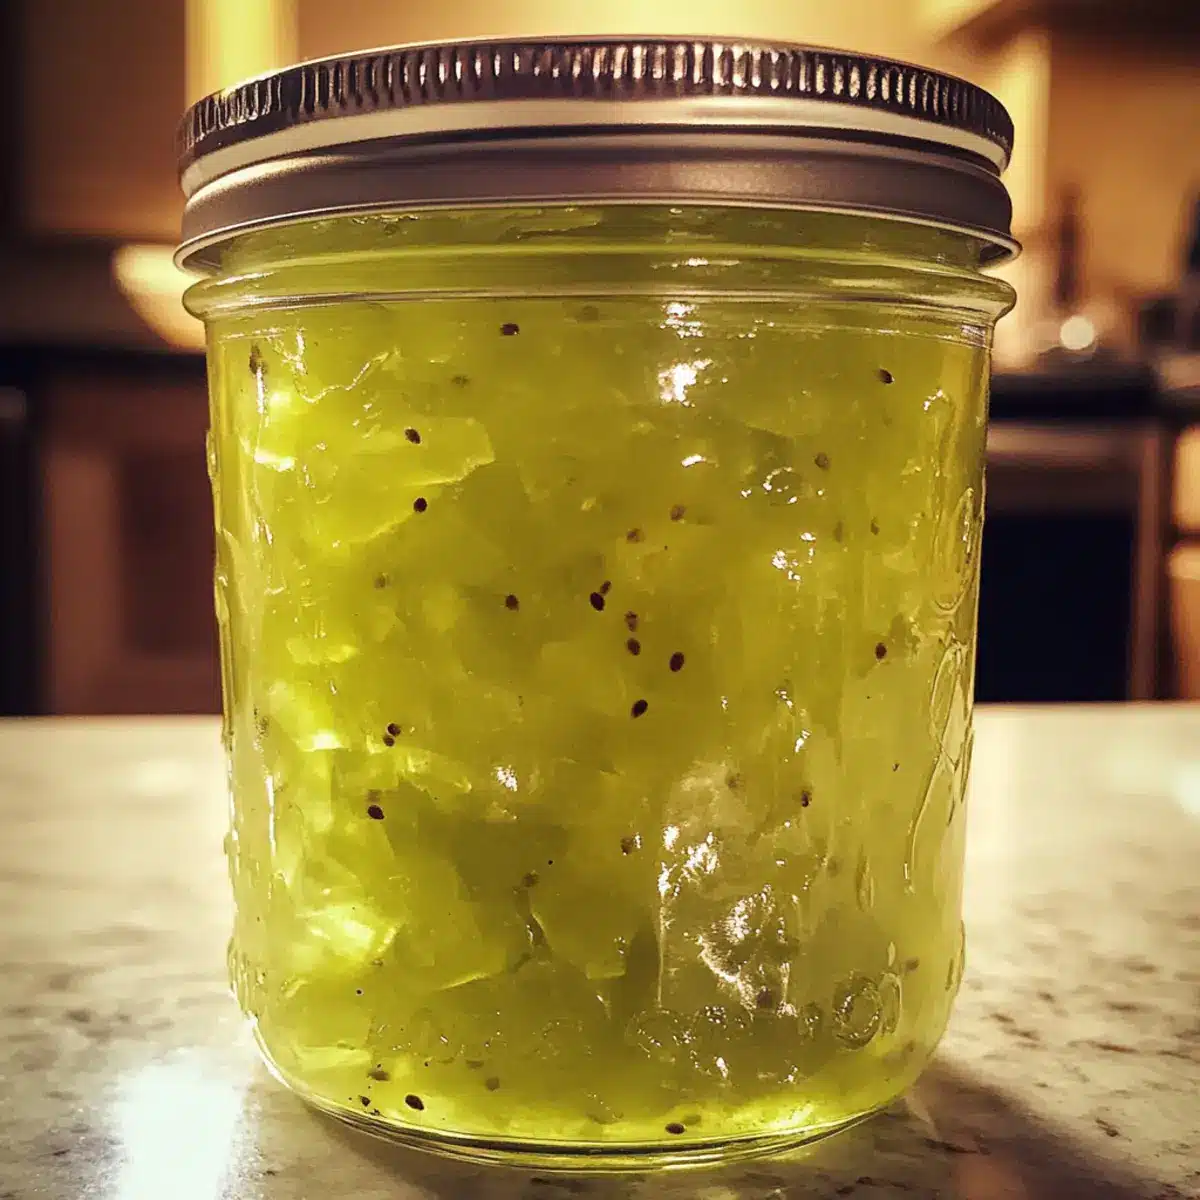
Fridge: Store your homemade kiwi jelly in sealed jars for up to 2 months. Ensure the lids are tight to maintain freshness and prevent spoilage.
Freezer: For longer storage, freeze kiwi jelly in airtight freezer containers or freezer-safe jars for up to a year. Be sure to leave some space at the top for expansion.
Thawing: When ready to enjoy, simply transfer the frozen jelly to the fridge and allow it to thaw overnight.
Reheating: If you prefer warm jelly, gently reheat in the microwave for 10-15 seconds, stirring well to achieve a smooth consistency without overheating.
What to Serve with Grandma Mildred’s Easy Kiwi Jelly
Grandma Mildred’s Easy Kiwi Jelly is not just for spreading on toast; it’s the perfect accompaniment to elevate your breakfast and snacks!
-
Warm Scones: The buttery, flaky texture of scones pairs beautifully with the vibrant sweetness of kiwi jelly, creating a delightful contrast. Enjoy them fresh out of the oven for the best experience.
-
Fluffy Pancakes: Drizzle the jelly over stacks of fluffy pancakes for a burst of fruity flavor that will have everyone reaching for seconds. It’s a fresh twist on a classic breakfast!
-
Creamy Greek Yogurt: A dollop of kiwi jelly on creamy Greek yogurt adds both sweetness and zing, transforming a simple bowl into a refreshing meal that’s full of nutrients.
-
Cheese Platter: Add a small jar of kiwi jelly to your cheese board. The sweet and tart aspects complement rich cheeses like brie or goat cheese perfectly, inviting a burst of flavor in every bite.
-
Grilled Chicken Sandwiches: Give your sandwiches a gourmet touch! Spread the jelly inside grilled chicken sandwiches for a delightful hint of sweetness that balances savory flavors.
-
Sparkling Water: Pair your meal with a refreshing glass of sparkling water with a splash of lime or lemon for a sparkling touch that enhances the tropical vibe of the jelly.
-
Fruit Salad: Mix the jelly into a fresh fruit salad as a dressing. It provides a delightful glaze that enhances the natural sweetness of the fruit while bringing a hint of tartness into play.
-
Ice Cream: Need a quick dessert? Serve kiwi jelly over vanilla ice cream for a simple treat that’s both refreshing and indulgent! A perfect ending to any meal.
-
Coconut Macaroons: The chewy texture of coconut macaroons paired with the lush sweetness of kiwi jelly creates a tropical dessert experience that’s not only delicious but memorable.
-
Honey Butter Biscuits: Spread a little honey butter on biscuits and top with kiwi jelly for a flavor explosion—a sweet breakfast that will be hard to resist.
Expert Tips for Making Kiwi Jelly
-
Choose Ripe Kiwis: Use fresh, ripe kiwis for the best results; unripe or overripe kiwis can compromise your jelly’s flavor and texture.
-
Watch the Microwave Time: Microwave just until the mixture reaches a full rolling boil; overcooking can lead to a jelly that’s too firm.
-
Stir Frequently: Stir every 2 minutes while microwaving to prevent the mixture from boiling over and ensure even cooking for your kiwi jelly.
-
Cool Down Properly: Allow the jelly to cool for about an hour before refrigerating or freezing for optimal setting and flavor enhancement.
-
Use Clean Jars: Make sure your jars are sterilized beforehand to preserve the freshness of your kiwi jelly and prevent spoilage.
Kiwi Jelly Variations & Substitutions
Feel free to play around with flavors and ingredients—your kiwi jelly can be uniquely yours!
- Peaches or Strawberries: Substitute kiwifruit with fresh peaches or strawberries for a different fruity twist. This change brightens the jelly in delightful ways.
- Ginger or Mint: Add fresh ginger or mint for a burst of aromatic flavor that elevates your jelly to new heights. These spices beautifully complement the sweet and tart notes.
- Honey: Swap out sugar for honey to create a more natural sweetness. This alternative adds a lovely depth of flavor while keeping things wholesome.
- Coconut Water: Use coconut water instead of lime juice to add a tropical flair. It enhances the jelly’s refreshing taste while giving it a slightly different texture.
- Chili Flakes: Looking for heat? Add a pinch of chili flakes for a spicy twist that creates a surprising yet delicious contrast to the sweetness.
- Berry Medley: Mix in other berries, like blueberries or raspberries, for a vibrant fruit medley and a richer taste experience. The colors and flavors combine beautifully!
- Jelly with a Twist: Consider mixing in some balsamic vinegar for a sophisticated, tangy depth. This strategy makes the jelly a great pairing for savory dishes, too!
- Lemon Zest: Craving a zesty boost? Add some lemon zest along with lime juice for extra brightness. The combination of acidity from both fruits is simply refreshing!
As you experiment, remember to check out our homemade jam recipes for more inspiration, and don’t hesitate to explore ways to use your kiwi jelly in desserts!
Grandma Mildred’s Easy Kiwi Jelly Recipe FAQs
What kind of kiwifruit should I use for this jelly?
Absolutely! For the best flavor and texture, use fresh, ripe kiwis. They should be slightly soft to the touch, indicating they are ripe but not overripe. Avoid kiwis with dark spots all over, as these may be past their prime.
How long can I store the kiwi jelly in the fridge?
Very good question! Your delicious homemade kiwi jelly can be stored in sealed jars in the refrigerator for up to 2 months. Just make sure the lids are tight to maintain freshness and prevent spoilage.
Can I freeze kiwi jelly, and if so, how?
Certainly! If you want to savor your kiwi jelly beyond the 2-month fridge life, freeze it in airtight containers or freezer-safe jars. It’s best to leave some space at the top of the jars for expansion, and you can keep it in the freezer for up to a year. When you’re ready to enjoy it, simply thaw it in the fridge overnight.
What should I do if my jelly isn’t setting properly?
Don’t worry! If your jelly isn’t setting as expected, it could be due to insufficient cooking time or not incorporating enough pectin. To remedy this, you can reheat the jelly and add another packet of liquid pectin according to the instructions, then boil the mixture again for 1-2 minutes. Stir frequently until it reaches a full rolling boil for proper setting.
Is this kiwi jelly safe for pets or individuals with dietary restrictions?
Definitely! While the ingredients in this homemade jelly are safe for most individuals, always check with your veterinarian regarding pets. If you’re concerned about allergies or sensitivities, you can substitute the sugar with a sugar alternative tailored to your dietary needs. Just ensure that any substitute is pet-safe if your furry friend is nearby!
Homemade Kiwi Jelly That Brightens Every Breakfast Table
Ingredients
Equipment
Method
- Start by thinly slicing and chopping your fresh, ripe kiwifruit to release its vibrant juices.
- In a large, microwave-safe bowl, combine the chopped kiwifruit with undrained crushed pineapple, fresh lime juice, and sugar.
- Place the bowl in the microwave and cook on high for 10-12 minutes, stirring every 2 minutes.
- Stir in the liquid pectin and add 3 drops of green food coloring if desired.
- Pour the hot kiwi jelly mixture into prepared jars or freezer containers, leaving space for expansion.
- Let the jars cool at room temperature for about 1 hour, then refrigerate or freeze.
Leave a Reply