
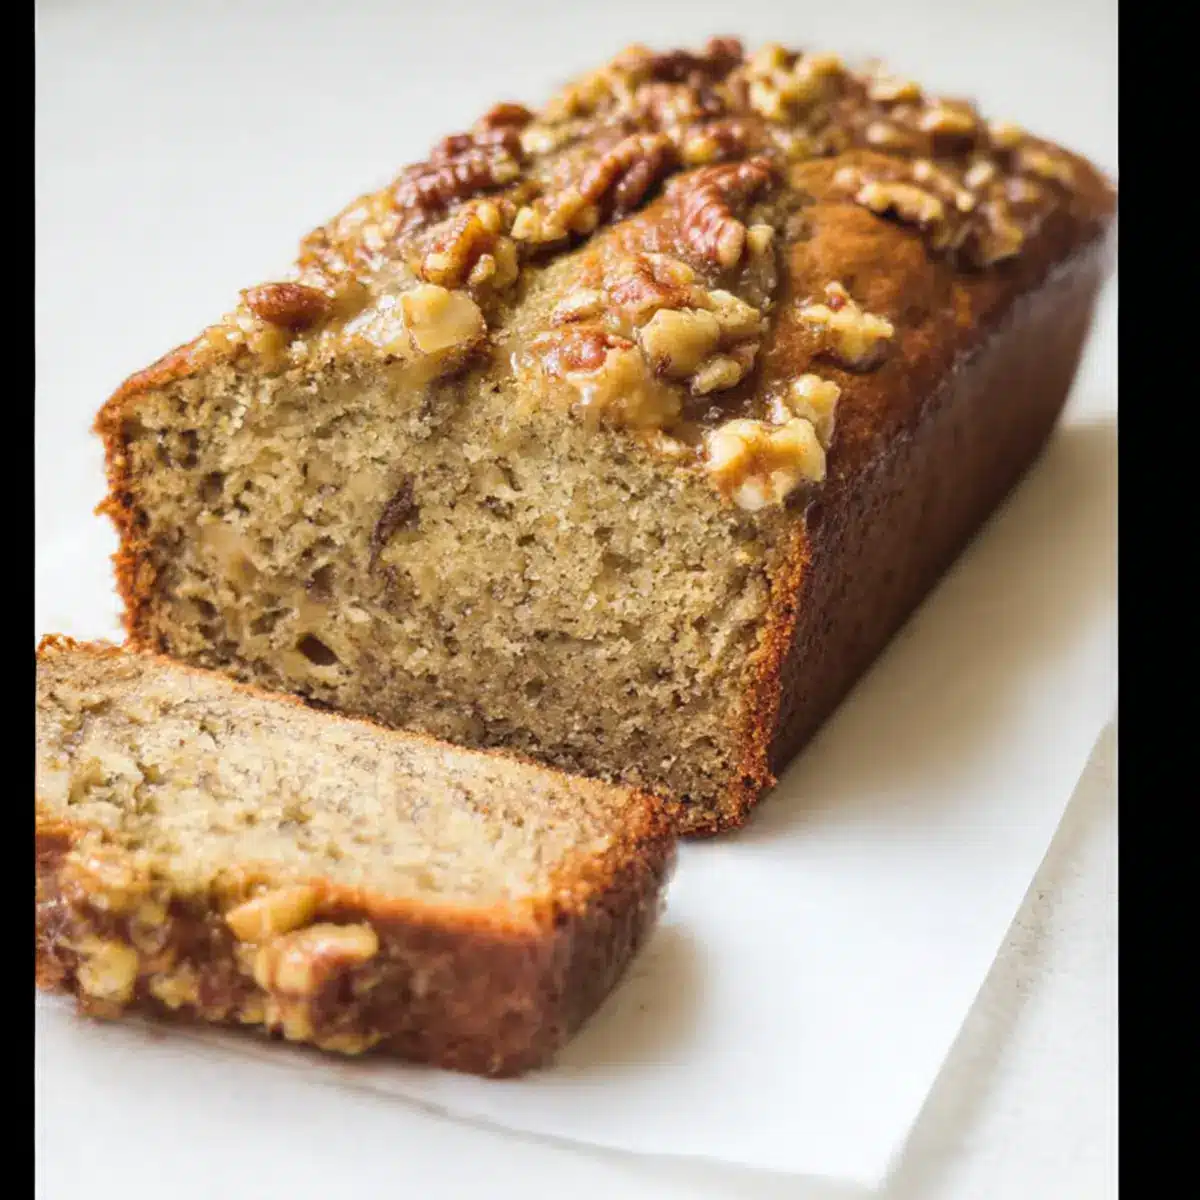
When the first hints of autumn arrive, I can’t help but reach for my trusty ripe bananas to whip up a batch of Maple Banana Bread. This delightful recipe marries the comforting sweetness of bananas with the rich, warm notes of maple syrup, creating a treat that’s perfect for cozy mornings or afternoon snacks. What sets this Maple Banana Bread apart is its quick prep time and the nutty crunch that brings an exciting twist to each bite. Whether you’re a baking newbie or a seasoned pro, this easy-to-follow recipe invites you to enjoy homemade goodness without the fuss. So, are you ready to fill your kitchen with the irresistible aroma of baked delights?
Why is Maple Banana Bread a Must-Try?
Irresistible Aroma: As it bakes, your kitchen will fill with an inviting scent that evokes cozy autumn memories.
Quick Prep: This recipe requires minimal effort, perfect for those busy mornings or lazy afternoons.
Nutty Crunch: The addition of walnuts or pecans creates delightful texture that complements the moist bread.
Versatile Options: Feel free to swap in chocolate chips or use coconut sugar for a lighter version—this recipe adapts to your preferences!
** crowd-pleaser:** Whether enjoyed as breakfast or dessert, everyone will love this comforting slice of Maple Banana Bread.
Maple Banana Bread Ingredients
For the Batter
• All-Purpose Flour – Provides essential structure; can substitute with gluten-free flour for those with dietary restrictions.
• Baking Soda – Helps the bread rise, creating a tender crumb.
• Salt – Enhances the overall flavor profile of the bread.
• Unsalted Butter – Adds moisture and richness; using unsalted gives you better control over the salt level.
• Brown Sugar – Brings sweetness and a lovely caramel flavor; coconut sugar can be used for a healthier choice.
• Maple Syrup – Acts as both a sweetener in the batter and a drizzle on top for robust maple flavor.
• Eggs – Essential for binding the ingredients and adding moisture.
• Mashed Bananas – The star ingredient that provides natural sweetness; use 3-4 ripe bananas for best texture and taste.
• Vanilla Extract – Elevates flavor depth, giving the bread a warm essence.
• Yogurt or Sour Cream – Contributes to moisture and tenderness; buttermilk is a handy substitute too.
• Chopped Walnuts or Pecans – Adds a fantastic crunch and texture; feel free to swap or omit for a nut-free option.
For the Glaze
• Additional Maple Syrup – Drizzle over the top after baking for that extra layer of sweet maple goodness.
Embrace your baking spirit with this Maple Banana Bread recipe that promises to bring warmth and joy to your kitchen!
Step‑by‑Step Instructions for Maple Banana Bread
Step 1: Preheat and Prepare
Begin by preheating your oven to 350°F (180°C) while you prepare your loaf pan. Grease a 9×5-inch loaf pan with butter or non-stick spray to ensure easy removal of your finished Maple Banana Bread. Setting this up first allows you to focus on mixing the batter and will help speed up your baking process.
Step 2: Mix Dry Ingredients
In a medium bowl, sift together the all-purpose flour, baking soda, and salt. This step is essential for achieving a light and airy texture in your Maple Banana Bread. Once sifted, set the dry mixture aside as you shift your attention to the wet ingredients, ensuring proper blending and maximum flavor.
Step 3: Cream Butter and Sugar
In a large mixing bowl, use an electric mixer to beat the unsalted butter and brown sugar together until the mixture is fluffy and light, about 3–4 minutes. This process creates air pockets in the batter, contributing to a tender loaf. Once fluffy, gradually add ⅓ cup of maple syrup, mixing for another minute until well combined and deliciously aromatic.
Step 4: Incorporate Eggs
Next, add the eggs to the butter-sugar mixture, one at a time, mixing on low speed after each addition until fully incorporated. This will create a smooth batter. The eggs serve as a binder, ensuring that your Maple Banana Bread holds together beautifully while infusing it with moisture.
Step 5: Add Bananas and Vanilla
Gently fold in the mashed bananas and vanilla extract into the mixture. Stir just until combined, avoiding overmixing. The bananas are not only the star ingredient of your Maple Banana Bread but also contribute natural sweetness and a delightful moistness, elevating the flavors to delightful heights.
Step 6: Combine Dry and Wet Ingredients
Gradually mix the reserved dry ingredients into the wet mixture in two parts, alternating with the yogurt or sour cream. Start and end with the dry mixture, mixing until just combined to avoid toughening the bread. This careful blending helps maintain the soft, moist texture that’s characteristic of the best banana bread.
Step 7: Fold in Nuts
With a spatula, gently fold in the chopped walnuts or pecans, ensuring an even distribution throughout the batter. Reserve a handful of nuts for topping the bread later. Their crunchy texture will complement the moistness of the Maple Banana Bread beautifully, adding a delightful contrast to each bite.
Step 8: Pour and Bake
Pour the batter into your prepared loaf pan and sprinkle the reserved nuts evenly over the top. Bake in the preheated oven for 50–60 minutes, or until a toothpick inserted into the center comes out clean. The beautiful golden brown top and inviting aroma will signal that your Maple Banana Bread is nearing completion.
Step 9: Cover to Prevent Overbrowning
After baking for about 30 minutes, check the bread; if the top is browning too quickly, cover it lightly with aluminum foil. This will prevent the crust from becoming too dark while allowing the center to bake through, ensuring that you achieve that perfect golden finish without sacrificing moisture.
Step 10: Cool and Drizzle
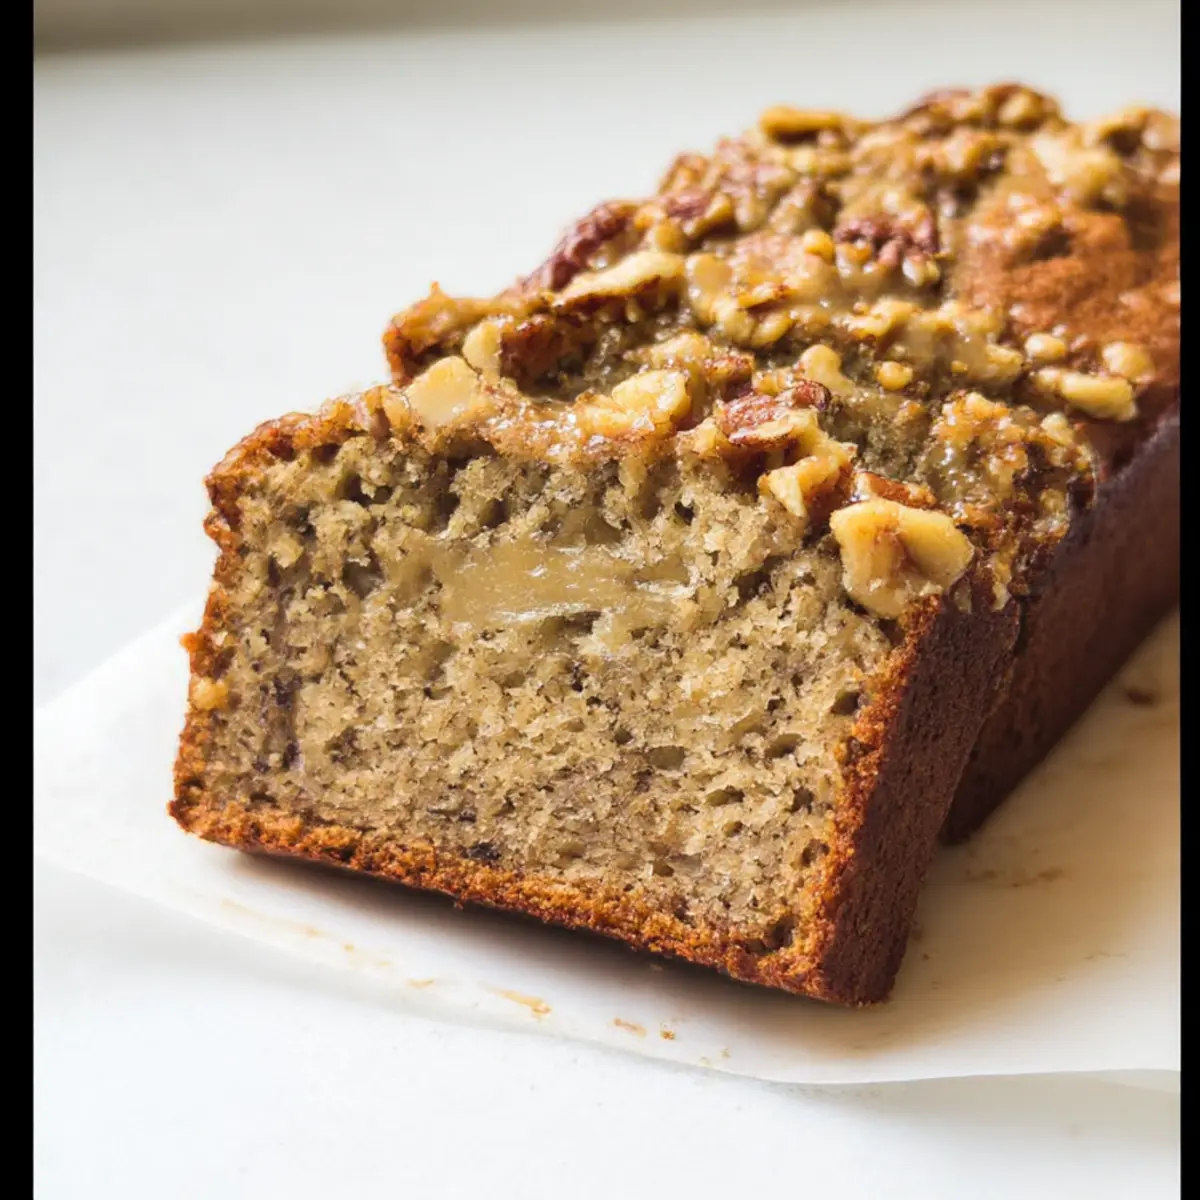
Once baked, remove the Maple Banana Bread from the oven and let it cool in the pan for about 10 minutes. Afterward, carefully transfer it to a wire rack to cool completely. Finally, drizzle warm maple syrup over the top to enhance the flavor and add a touch of sweetness, inviting everyone to indulge in your homemade delight!
Storage Tips for Maple Banana Bread
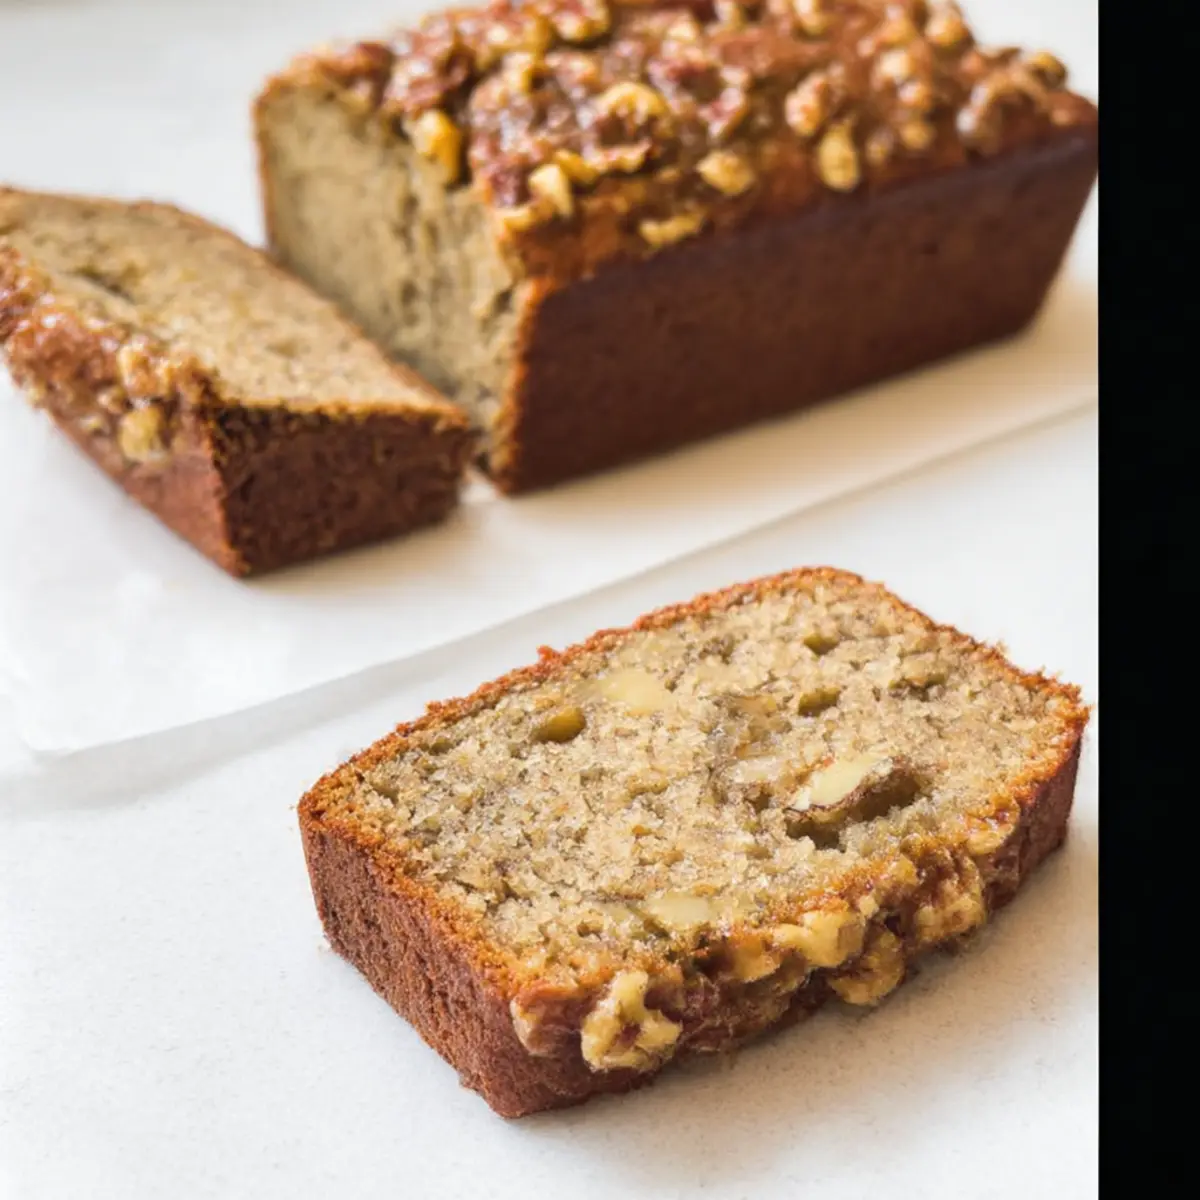
Room Temperature: Store your Maple Banana Bread in an airtight container at room temperature for up to 2 days to keep it fresh and moist.
Fridge: If you want to enjoy it for a bit longer, refrigerate the bread for up to 5 days. Just make sure it’s well-wrapped to prevent it from drying out.
Freezer: For longer storage, wrap the bread tightly in plastic wrap and then in aluminum foil or a freezer bag. It can be frozen for up to 2 months; thaw it on the counter or in the fridge when you’re ready to enjoy a slice.
Reheating: To restore its delicious texture, warm individual slices in the microwave for about 10-15 seconds; enjoy the freshly baked taste of your Maple Banana Bread!
Maple Banana Bread Variations
Explore endless possibilities to make this Maple Banana Bread even more delightful and customized to your taste!
- Gluten-Free: Swap all-purpose flour for a gluten-free blend to enjoy a gluten-free version without compromising flavor.
- Lower Sugar: Use coconut sugar in place of brown sugar for a lower glycemic option that still retains sweetness.
- Chocolate Chip Delight: Replace nuts with chocolate chips to create a sweeter, indulgent variation that’s perfect for dessert lovers.
- Spicy Twist: Add a tablespoon of cinnamon or pumpkin spice for a warm, aromatic flavor that captures the essence of fall.
- Nut-Free: Omit nuts completely or replace them with seeds like sunflower or pumpkin seeds for a nut-free alternative.
- Yogurt Swap: Substitute yogurt with a non-dairy alternative (like almond yogurt) for a dairy-free treat.
- Topping Variations: Try a drizzle of cream cheese glaze on top for a rich, sweet finish that elevates each slice.
- Banana Mash-Up: Incorporate other mashed fruits like apples or pears to create a fruity mash-up that surprises the palate.
Feeling adventurous? You might even want to spread your warm Maple Banana Bread with a touch of butter and pair it alongside a cup of tea or coffee like I do while enjoying some cozy moments at home. Happy baking!
Make Ahead Options
These Maple Banana Bread treats are perfect for busy home cooks looking to save time! You can mash the bananas and mix the dry ingredients up to 24 hours in advance, storing them separately in the refrigerator to maintain freshness. If you prefer, you can also prepare the entire batter and refrigerate it for up to 3 days. Just make sure to cover it tightly to prevent it from absorbing any unwanted smells or flavors. When you’re ready to bake, pour the batter into your prepared pan, sprinkle with reserved nuts, and bake as directed. This way, you’ll enjoy delectable, homemade Maple Banana Bread with minimal fuss in your busy schedule!
What to Serve with Maple Banana Bread?
Imagine cozying up with a slice of warm Maple Banana Bread, perhaps paired with some delightful accompaniments to elevate your experience.
-
Creamy Butter: A smear of rich, creamy butter melts beautifully into the warm bread, enhancing the comforting flavors of maple and banana.
-
Greek Yogurt: The tangy creaminess of Greek yogurt offers a lovely contrast, adding a refreshing element to your sweet treat. Consider topping it with fresh berries for extra flair!
-
Honey Drizzle: A light drizzle of honey over your slice intensifies natural sweetness, creating a luscious balance that perfectly complements the maple glaze.
-
Fruit Salad: Bright, zesty fruit salad combines freshness with sweetness—think strawberries, orange slices, and apples—to bring a vibrant pop beside your loaf.
-
Coffee or Tea: Pair your delicious slice with a warm cup of coffee or herbal tea. The aromatic blend heightens the enjoyment of each bite and makes it an ideal afternoon treat.
-
Ice Cream Scoop: Treat yourself by serving a warm slice with a scoop of vanilla ice cream; the melting creaminess creates a dreamy dessert experience perfect for any occasion.
Feel free to mix and match these delightful options to suit your taste and create a memorable meal!
Expert Tips for Maple Banana Bread
• Use Ripe Bananas: Ensure your bananas are very ripe for maximum natural sweetness; overripe ones work best in achieving that delicious flavor.
• Mixing Matters: Avoid overmixing once you combine the wet and dry ingredients. This keeps your Maple Banana Bread light and fluffy—nobody wants a dense loaf!
• Foil Trick: If the top of the bread begins to brown too quickly, cover it loosely with aluminum foil around the 30-minute mark to prevent burning.
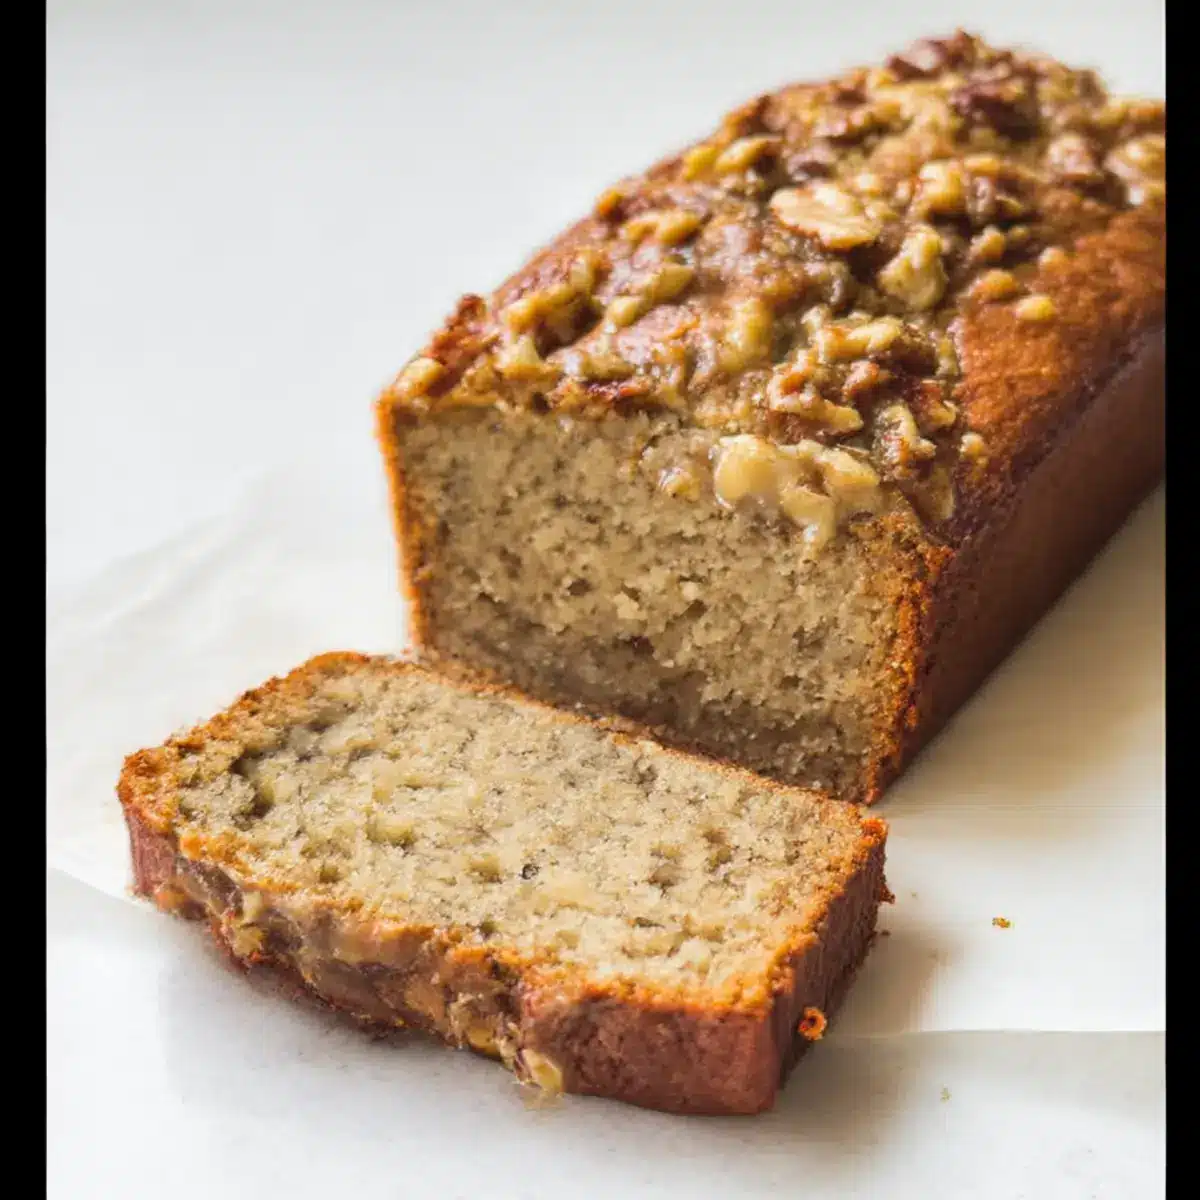
• Cool Completely: Allow the bread to cool fully before slicing. This enhances the flavor, and it often tastes even better the next day!
• Nut Variations: Feel free to experiment with different nuts or even chocolate chips based on your taste preferences for a fun twist on the classic Maple Banana Bread.
Maple Banana Bread Recipe FAQs
How do I choose the best bananas for this recipe?
Absolutely! The best bananas for Maple Banana Bread are those that are very ripe, with plenty of brown spots or even mostly brown skins. Overripe bananas offer the maximum sweetness and moisture, which is essential for creating that tender loaf. I often grab extra bananas and let them sit on my counter until they reach that perfect spot!
How should I store leftover Maple Banana Bread?
You can store your Maple Banana Bread in an airtight container at room temperature for up to 2 days. If you want to keep it fresh longer, refrigerate it for up to 5 days. Just be sure it’s well-wrapped to prevent it from drying out.
Can I freeze Maple Banana Bread?
Yes, you can! Just wrap the cooled Maple Banana Bread tightly in plastic wrap and then in aluminum foil or place it in a freezer-safe bag. It can be frozen for up to 2 months. When you’re ready to enjoy a slice, simply thaw it on the counter or in the fridge. This method keeps it fresh and makes for a delightful treat anytime!
What can I do if my bread comes out too dense?
If your Maple Banana Bread comes out dense, you may have overmixed the batter. When combining the wet and dry ingredients, mix until just combined to keep it light and fluffy. Also, ensure that your baking soda is fresh and not expired, as this is crucial for proper rising. Sifting the flour can also help incorporate air and improve the final texture.
Is this recipe suitable for my gluten-sensitive friends?
Very! You can easily make this Maple Banana Bread gluten-free by substituting all-purpose flour with your favorite gluten-free flour blend. This adjustment works wonderfully, allowing everyone to enjoy the deliciousness without worry. Just check the blend’s baking properties to ensure a successful loaf!
Maple Banana Bread: Cozy Comfort in Every Slice
Ingredients
Equipment
Method
- Preheat your oven to 350°F (180°C) and grease a 9x5 inch loaf pan.
- Sift together all-purpose flour, baking soda, and salt in a medium bowl.
- Beat unsalted butter and brown sugar together in a large bowl until fluffy, about 3-4 minutes.
- Gradually add maple syrup, mixing for another minute.
- Incorporate eggs one at a time, mixing on low until fully blended.
- Fold in mashed bananas and vanilla extract until combined.
- Mix dry ingredients into wet mixture alternately with yogurt/sour cream.
- Carefully fold in chopped nuts and reserve a handful for topping.
- Pour batter into loaf pan, sprinkle reserved nuts on top, and bake for 50-60 minutes.
- After 30 minutes, cover with foil if the top is browning too quickly.
- Cool in the pan for 10 minutes, then transfer to wire rack. Drizzle warm maple syrup on top.
Leave a Reply