
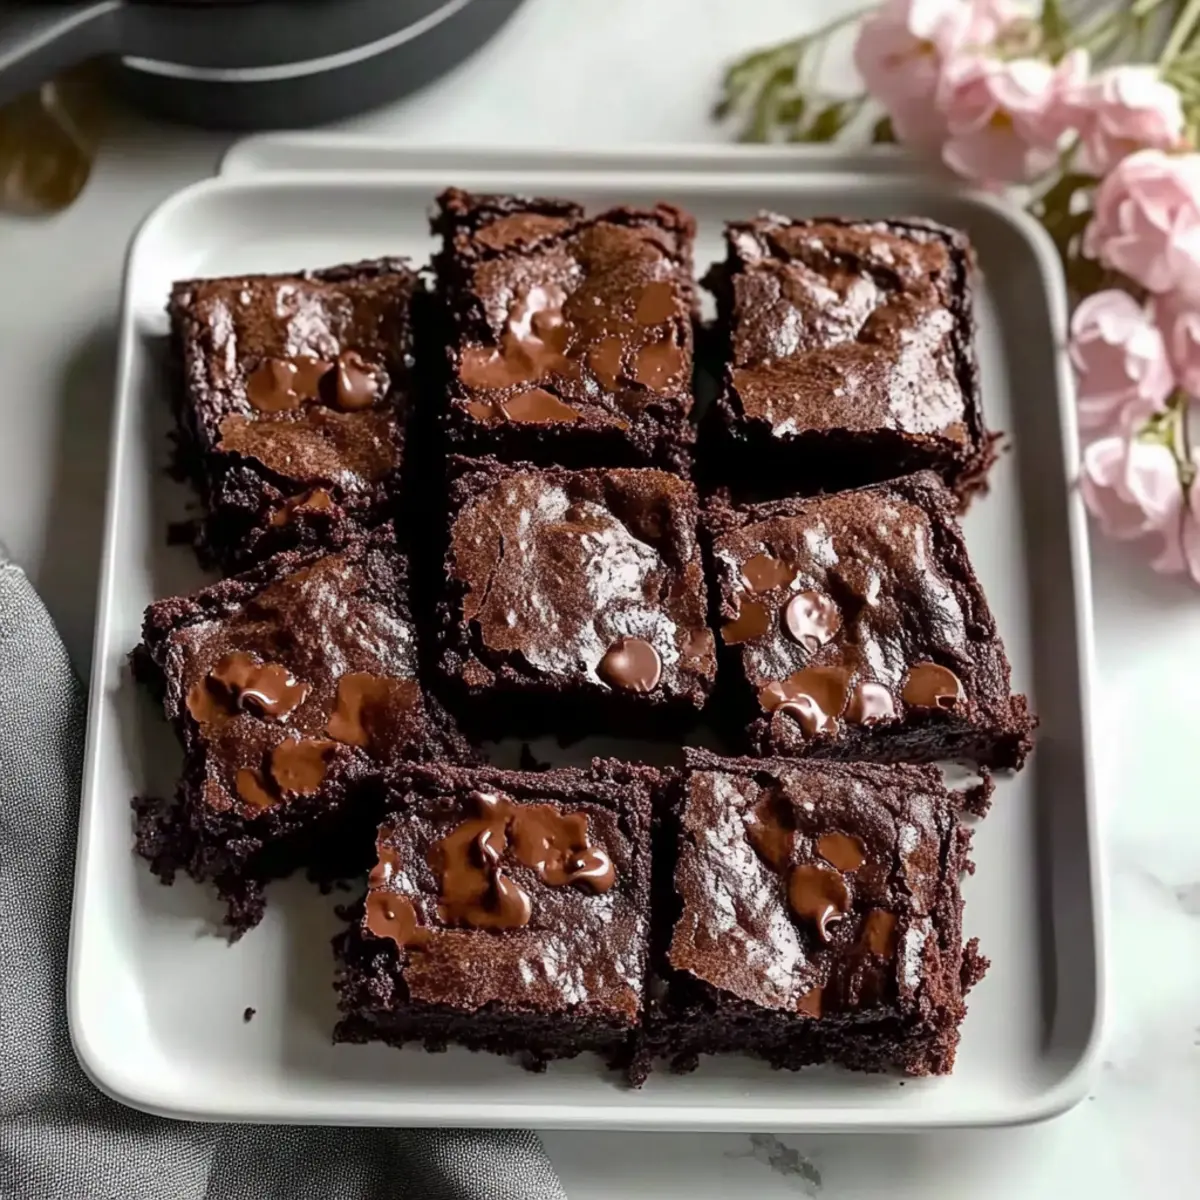
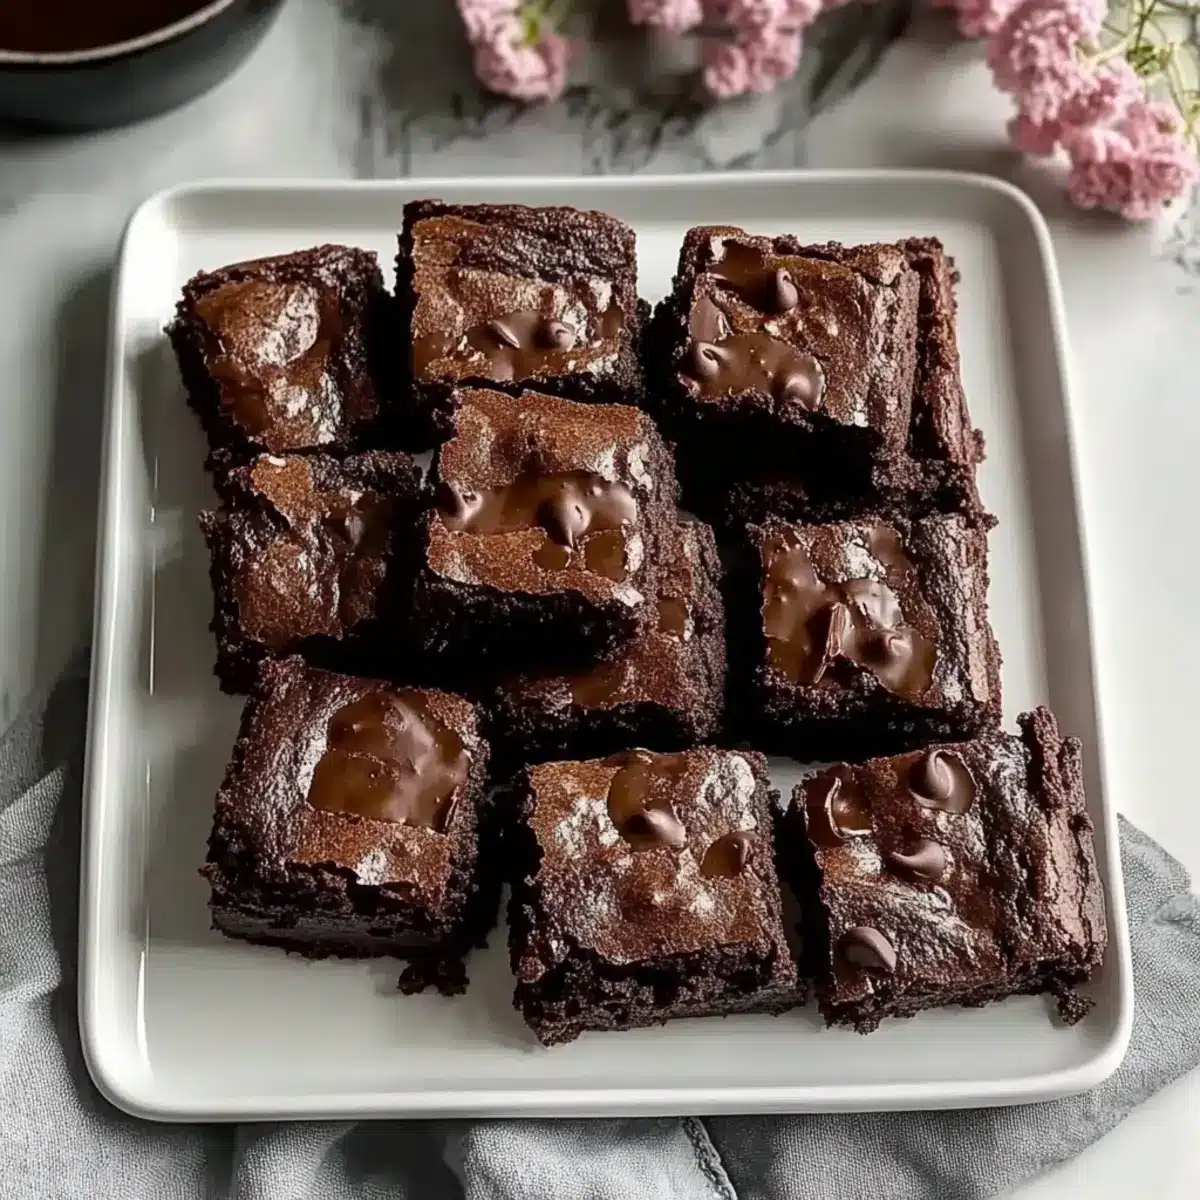
As I rummaged through my pantry one rainy afternoon, I stumbled upon a treasure: a stash of rich chocolate and velvety Greek yogurt. It struck me—why not craft something special? Enter my Chewy No Sugar Greek Yogurt Brownies, where fudginess meets guilt-free indulgence. These delightful treats are not only free from added sugars, but they also harness the creamy power of Greek yogurt to create a moist texture that feels almost like a chocolate truffle. Perfect for those moments when cravings strike but health matters too, these brownies are a quick, satisfying answer to your sweet tooth. Plus, they’re a crowd-pleaser, leaving friends and family wondering just what makes them so delicious. Ready to discover a dessert that’s deliciously wholesome? Let’s dive in!
Why Choose No Sugar Greek Yogurt Brownies?
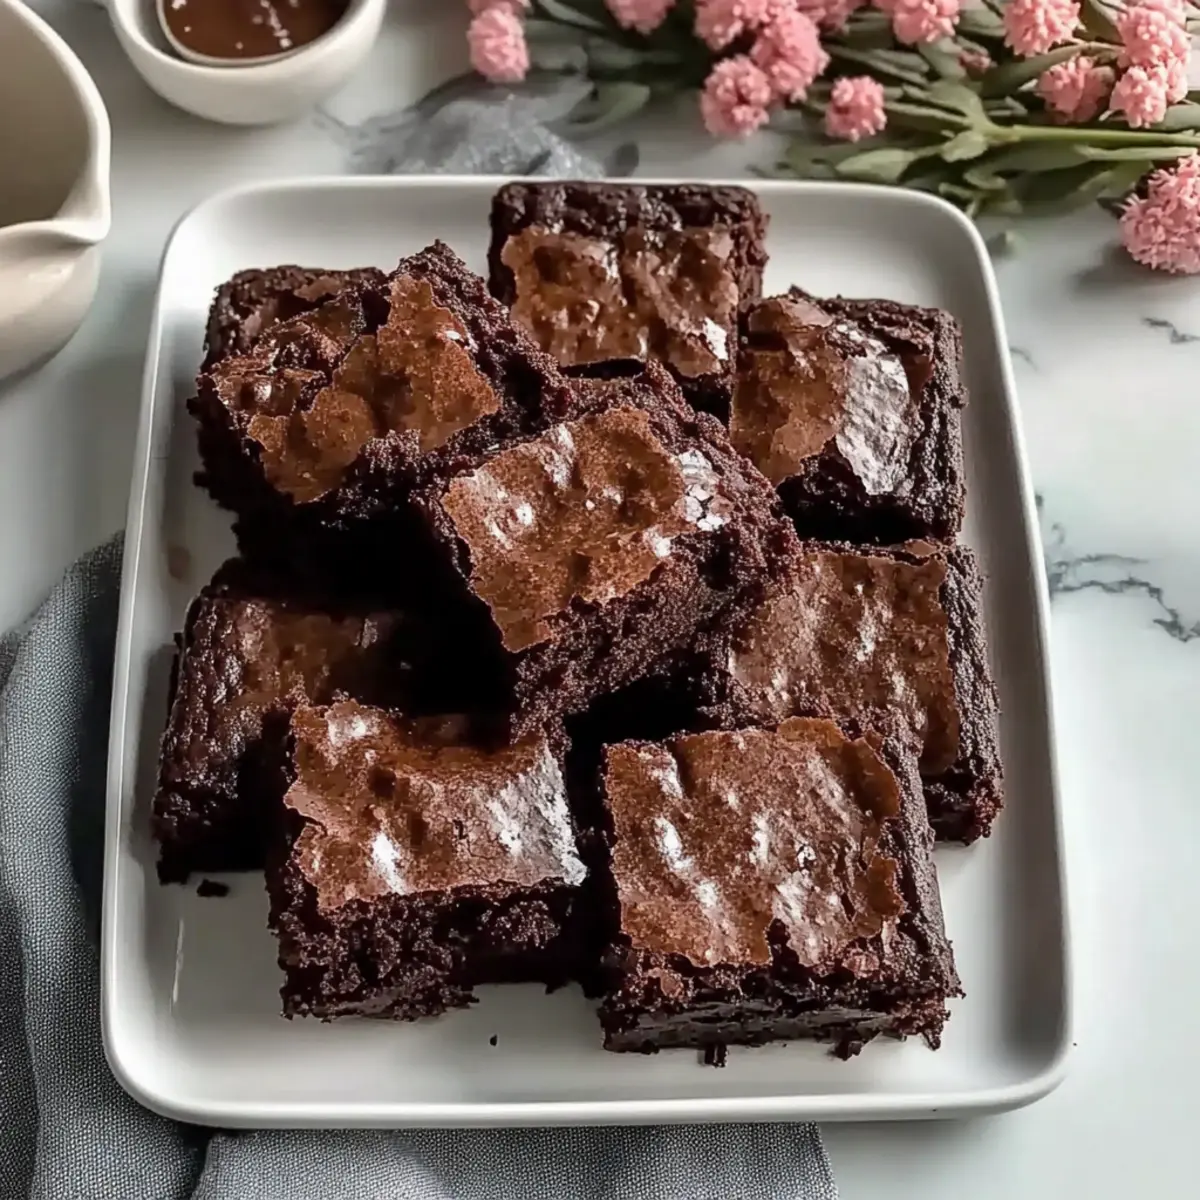
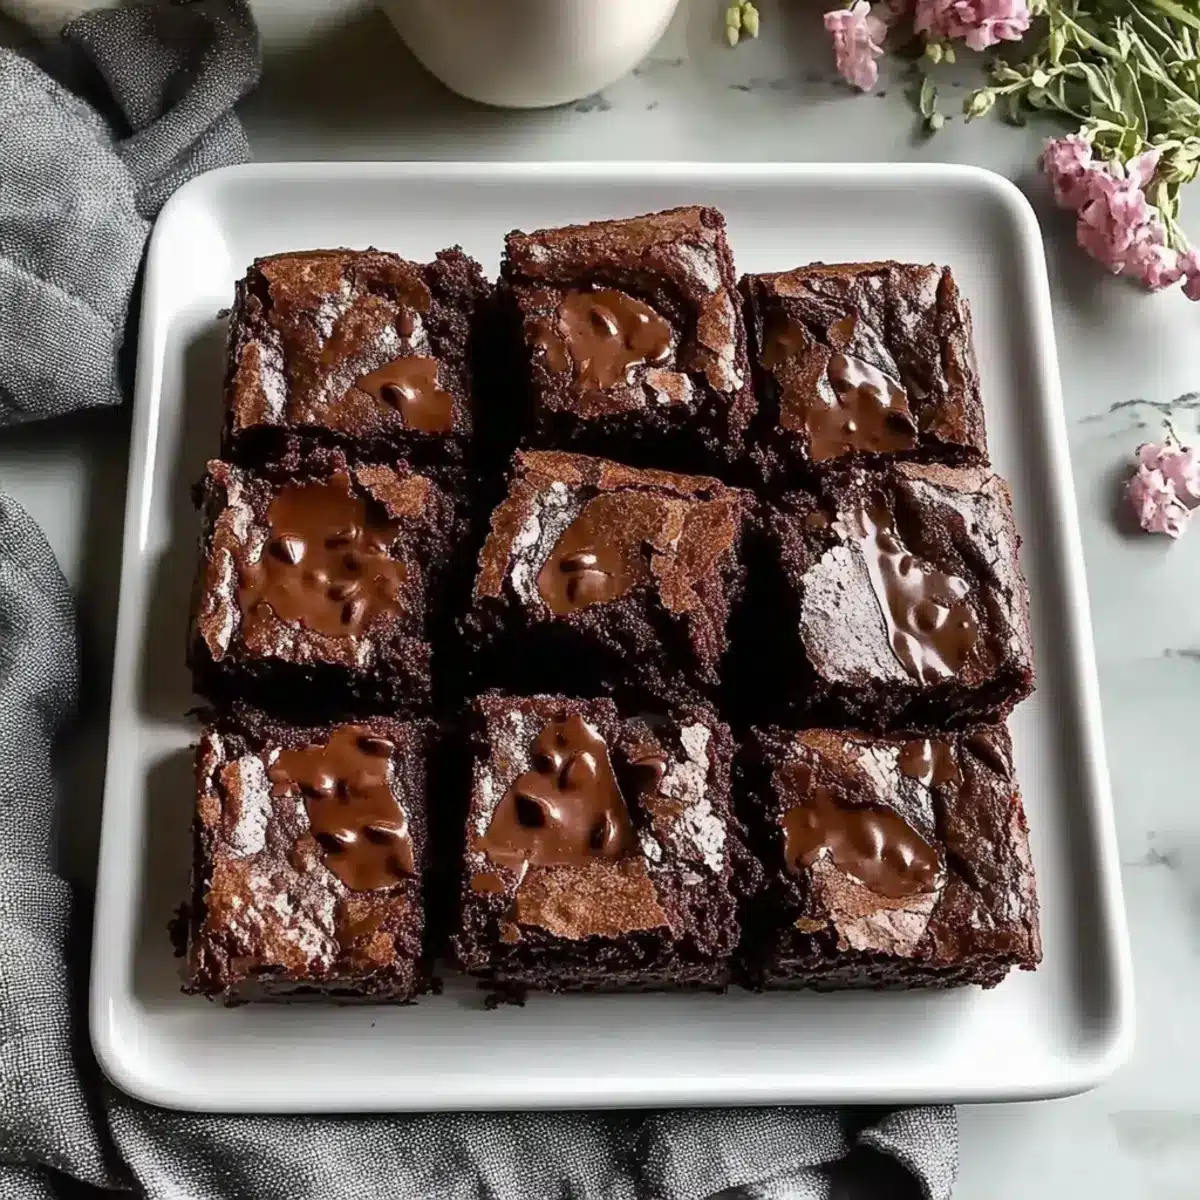
Irresistible Fudginess: These brownies boast an incredible density, enhanced by Greek yogurt, creating a texture that melts in your mouth.
Healthier Indulgence: With no added sugars, they’re a guilt-free dessert option perfect for the health-conscious.
Quick & Easy: Whip them up in no time, making them an ideal treat for busy days.
Customizable Flair: Add your favorite nuts or even a swirl of peanut butter to personalize to your taste!
Crowd-Pleasing Delight: Watch your friends and family devour these guilt-free brownies, leaving them craving more.
Dive into the rich flavors of these delicious brownies when you’re looking for something sweet without the sugar overload.
No Sugar Greek Yogurt Brownies Ingredients
For the Batter
• Chocolate – Adds deep cocoa flavor and richness; use high-quality dark chocolate for a deeper taste.
• Greek Yogurt – Provides moisture and protein for structure; full-fat Greek yogurt (e.g., FAGE Total 5%) gives the best texture.
• Vanilla Extract – Enhances flavor; opt for pure vanilla for the best results.
• Sugar – Sweetens the brownies naturally; adjust to taste or try a sugar substitute.
• All-Purpose Flour – Provides structure; substitute with a gluten-free flour blend for a gluten-free option.
• Cocoa Powder – Contributes to the chocolate flavor and color; sift to avoid lumps for a smooth batter.
• Baking Soda – Helps brownies rise slightly; ensure it’s fresh for the best results.
• Salt – Balances sweetness and enhances flavors; use sea salt for a gourmet touch.
• Milk – Adds moisture for a fudgier texture; non-dairy milk works well for a dairy-free version.
• Chocolate Chips (optional) – Adds pockets of melted chocolate for extra richness; dairy-free chips are great for a vegan twist.
Get ready to bake these delightful No Sugar Greek Yogurt Brownies and savor a guilt-free treat that will amaze your taste buds!
Step‑by‑Step Instructions for Chewy No Sugar Greek Yogurt Brownies
Step 1: Preheat the Oven
Begin by preheating your oven to 350°F (175°C). While it heats up, take an 8×8 or 9×9 inch baking pan and line it with parchment paper, ensuring to cover the bottom and sides for easy removal. This step is essential for your No Sugar Greek Yogurt Brownies to bake evenly and to avoid sticking.
Step 2: Sift the Cocoa Powder
In a medium mixing bowl, sift the cocoa powder to eliminate any lumps that could hinder the smoothness of your batter. This simple action will ensure a velvety texture in your brownies. Set the sifted cocoa powder aside while you prepare your chocolate mixture.
Step 3: Melt the Chocolate
Take a microwave-safe bowl and add your chopped chocolate, then melt it in the microwave using 30-second intervals. Stir the chocolate after each interval until it’s fully melted and smooth. Let the melted chocolate cool for about 2 minutes; this prevents your Greek yogurt from curdling when mixed.
Step 4: Combine Wet Ingredients
In a large mixing bowl, whisk together the cooled melted chocolate, Greek yogurt, vanilla extract, and sugar until the mixture is smooth and well combined. The Greek yogurt is key in these No Sugar Greek Yogurt Brownies, providing moisture and flavor. Ensure there are no lumps for a perfect blend.
Step 5: Fold in Dry Ingredients
Gently add the all-purpose flour, sifted cocoa powder, baking soda, and salt to the wet mixture. Use a spatula to fold the ingredients together just until incorporated—be careful not to overmix, as this will affect the texture of your brownies. The batter should look thick and glossy.
Step 6: Add Milk and Chocolate Chips
Pour in the milk and mix until fully integrated into the batter, creating a fudgier consistency. If you like, fold in chocolate chips at this point to add pockets of gooey chocolate goodness in your No Sugar Greek Yogurt Brownies. This step elevates the richness of the final product.
Step 7: Pour the Batter
Carefully pour the brownie batter into your prepared baking pan, smoothing the top with a spatula to ensure even baking. Make sure it fills the corners well, as this makes for beautifully uniform brownies. Now it’s time to bake!
Step 8: Bake the Brownies
Place the pan in your preheated oven and bake for about 25–30 minutes. Your brownies are done when the edges look set and a toothpick inserted in the center pulls out with moist crumbs, indicating perfect fudginess. Keep a close watch as baking times can vary.
Step 9: Cool Before Slicing
After removing the brownies from the oven, let them cool in the pan for about 10 minutes. This helps them firm up a bit. After 10 minutes, transfer the brownies to a wire rack to cool completely. Allowing them to cool ensures clean slices and retains their delicious chewy texture.
Expert Tips for No Sugar Greek Yogurt Brownies
-
Check Doneness Early: Start checking your brownies at 25 minutes to avoid overbaking, which can lead to a dry texture instead of the intended fudginess.
-
Cool Your Chocolate: Let melted chocolate cool for a couple of minutes before mixing it with Greek yogurt. This prevents the yogurt from curdling and maintains a smooth batter.
-
Avoid Overmixing: When combining dry ingredients into the wet mix, fold gently and just until blended. Overmixing can create a tough texture in your brownies.
-
Quality Ingredients Matter: Use dark chocolate and full-fat Greek yogurt for the best flavor and consistency in your no sugar Greek yogurt brownies. These choices enhance the rich chocolate taste.
-
Experiment with Add-ins: Feel free to add chopped nuts, dried fruits, or even a swirl of peanut butter for fun variations. These additions can elevate your brownies even more!
No Sugar Greek Yogurt Brownies: Variations & Substitutions
Feel free to unleash your creativity and tailor these brownies to your taste preferences—it’s all about making them uniquely yours!
-
Nutty Cravings: Add a handful of chopped nuts like walnuts or pecans for a satisfying crunch and extra nutrition. The delightful contrast in textures elevates the experience, making every bite a joy!
-
Creamy Swirl: Swirl in some peanut butter or almond butter before baking for a rich and nutty flavor twist. The contrasting layers of chocolate and nut butter create a dreamy profile that will surprise your palate.
-
Flavorful Yogurt: Use flavored Greek yogurt, such as vanilla or honey, to infuse your brownies with an extra layer of sweetness and aroma. It’s a delightful twist that enhances the overall taste in every delicious bite.
-
Gluten-Free Alternative: Swap all-purpose flour for a gluten-free flour blend to cater to dietary needs without sacrificing taste. You won’t even notice the difference when munching on these fudgy brownies!
-
Bite-Sized Love: Cut them into bite-sized squares for a party-friendly dessert option. Perfect for gatherings, these little squares will be a hit alongside other treats like our Cinnamon Sugar Donut delights.
-
Spice it Up: Add a pinch of cinnamon or a dash of espresso powder to deepen the chocolate flavor. It creates a warm, inviting aroma that will instantly make your kitchen feel like home.
-
Fruit Fusion: Toss in some fresh, chopped fruit like raspberries or strawberries to balance the rich chocolate with a burst of fruity goodness. The addition of fruit adds brightness to your delightful brownies, making them even more appealing.
-
Fudgy Vegan Option: Use dairy-free chocolate and substitute Greek yogurt with silken tofu blended until smooth. It’s a fantastic vegan twist that retains all the fudgy traits you love!
So there you have it—plenty of variations to satisfy your cravings! And don’t forget, these brownies pair wonderfully with a scoop of ice cream or a sprinkle of fresh berries for a delightful, indulgent experience. Enjoy!
What to Serve with Chewy No Sugar Greek Yogurt Brownies
Pairing your delicious brownies with complementary flavors and textures can elevate your dessert experience to new heights.
-
Vanilla Ice Cream: The creamy sweetness of vanilla ice cream contrasts beautifully with the fudginess of the brownies, creating a perfect balance. A scoop on the side makes every bite feel indulgent.
-
Fresh Berries: Raspberries or strawberries provide a tart freshness that cuts through the richness, brightening each mouthful while adding a pop of color to your plate.
-
Whipped Coconut Cream: For a dairy-free option, serve with whipped coconut cream. It adds a light and tropical touch that enhances the overall dessert experience.
-
Espresso or Coffee: A warm cup of espresso or a rich coffee pairs wonderfully, as the bitter notes complement the chocolate, making each bite more flavorful.
-
Nutty Granola: Sprinkle some crunchy nutty granola on top for added texture. The crunchiness and slight sweetness will contrast perfectly with the chewy brownies.
-
Chocolate Drizzle: Enhance the indulgence by drizzling some melted dark chocolate on top. It adds an extra layer of richness, making them even more tempting.
-
Chia Seed Pudding: A light, creamy chia pudding adds a nutritious flair and works as a delightful side with all its textures enhancing the brownie experience.
-
Mint Tea: The refreshing notes of mint tea can cleanse the palate and provide a nice balance to the rich, chocolatey dessert.
-
Nut Butter Scoop: A scoop of almond or peanut butter adds richness and protein, perfecting the sweet and savory combination on your plate.
Indulge in these pairings to create a memorable dessert experience that turns your No Sugar Greek Yogurt Brownies into a full-fledged celebration of flavors!
Make Ahead Options
These Chewy No Sugar Greek Yogurt Brownies are a fantastic choice for meal prep enthusiasts looking to save time during busy weekdays! You can prepare the brownie batter up to 24 hours in advance by mixing all the wet and dry ingredients together, then cover the bowl tightly with plastic wrap and refrigerate. This helps to infuse the flavors and maintains the fudgy texture. When you’re ready to bake, simply preheat your oven and follow the original instructions to bake the brownies straight from the fridge. Enjoy delicious, homemade brownies with minimal effort—just as delightful as if they were freshly made!
Storage Tips for No Sugar Greek Yogurt Brownies
Room Temperature: Store brownies in an airtight container at room temperature for up to 3 days to maintain their fudgy texture and flavor.
Fridge: Keep brownies refrigerated for up to a week in an airtight container. This can slightly enhance their moisture but may also reduce the fudgy texture.
Freezer: For longer storage, wrap individual brownies in plastic wrap and place them in a freezer-safe container. They can be frozen for up to 3 months.
Reheating: Thaw at room temperature or microwave for a few seconds before serving. Enjoy your No Sugar Greek Yogurt Brownies fresh and delicious!
Chewy No Sugar Greek Yogurt Brownies Recipe FAQs
What type of Greek yogurt is best for these brownies?
I recommend using full-fat Greek yogurt, like FAGE Total 5%, for the best texture and richness in your No Sugar Greek Yogurt Brownies. Low-fat options may result in a drier, less fudgy outcome.
How should I store my brownies?
To keep your brownies fresh, store them in an airtight container at room temperature for up to 3 days. If you’re looking for longer storage, you can refrigerate them for about a week or freeze individually wrapped brownies in plastic wrap for up to 3 months.
Can I freeze No Sugar Greek Yogurt Brownies?
Absolutely! To freeze your brownies, wrap each one tightly in plastic wrap, then place them in a freezer-safe container. This way, they will stay delicious and fresh for up to 3 months. To enjoy, simply thaw them at room temperature or microwave for a few seconds.
What if my brownies turn out dry?
If your brownies are dry, it might be due to overbaking. I recommend checking doneness at the 25-minute mark. A toothpick inserted should come out with moist crumbs, not completely clean. For the next batch, keep a close eye on the baking time!
Are these brownies suitable for people with gluten intolerance?
Yes! You can easily make these brownies gluten-free by substituting all-purpose flour with a gluten-free flour blend. Just be sure it’s a blend that’s designed for baking; this will give you the best texture without compromising taste.
Can I make substitutions for dietary restrictions?
Definitely! You can switch to non-dairy milk for a dairy-free version. For a vegan option, use dairy-free chocolate chips and a sugar substitute of your choice. Just remember, each substitution can slightly alter the final texture and flavor, so feel free to experiment!
Delicious No Sugar Greek Yogurt Brownies You'll Adore
Ingredients
Equipment
Method
- Preheat your oven to 350°F (175°C) and line an 8x8 or 9x9 inch baking pan with parchment paper.
- Sift the cocoa powder in a medium mixing bowl to eliminate lumps and set aside.
- Melt chopped chocolate in a microwave-safe bowl in 30-second intervals, stirring until smooth, then let it cool for about 2 minutes.
- In a large mixing bowl, whisk together the cooled melted chocolate, Greek yogurt, vanilla extract, and sugar until smooth.
- Gently fold in the all-purpose flour, sifted cocoa powder, baking soda, and salt until just incorporated.
- Pour in the milk and mix until fully integrated. If desired, fold in chocolate chips.
- Pour the brownie batter into the prepared baking pan, smoothing the top with a spatula.
- Bake for about 25–30 minutes until the edges look set and a toothpick inserted comes out with moist crumbs.
- Cool in the pan for about 10 minutes, then transfer to a wire rack to cool completely before slicing.
Leave a Reply